
ShotPro Revfinity Quickstart
Welcome to Revfinity, your all-in-one platform for automating marketing, managing leads, and growing your business.
In just a few simple steps, you’ll have your account ready to send texts, manage calendars, communicate effectively and send branded emails — all in one place.
Follow each section below in order to complete your setup for best results.
Step 1: Add Money to Your Wallet
How the Wallet Works
Each message or call deducts a small fee from your wallet.
You can add funds manually or set up auto-recharge so you never run out.
Our Low Messaging Rates
ShotPro Revfinity offers some of the lowest communication rates in the industry — giving you more reach for less cost.
Email: $0.001 per email so $10 will get you 10,000 emails.
SMS: $0.0124 per segment so $10 gets you 805 one segment messages.
A “segment” equals 160 characters.
Short messages cost just over a penny; longer ones or those with emojis/images use more segments.
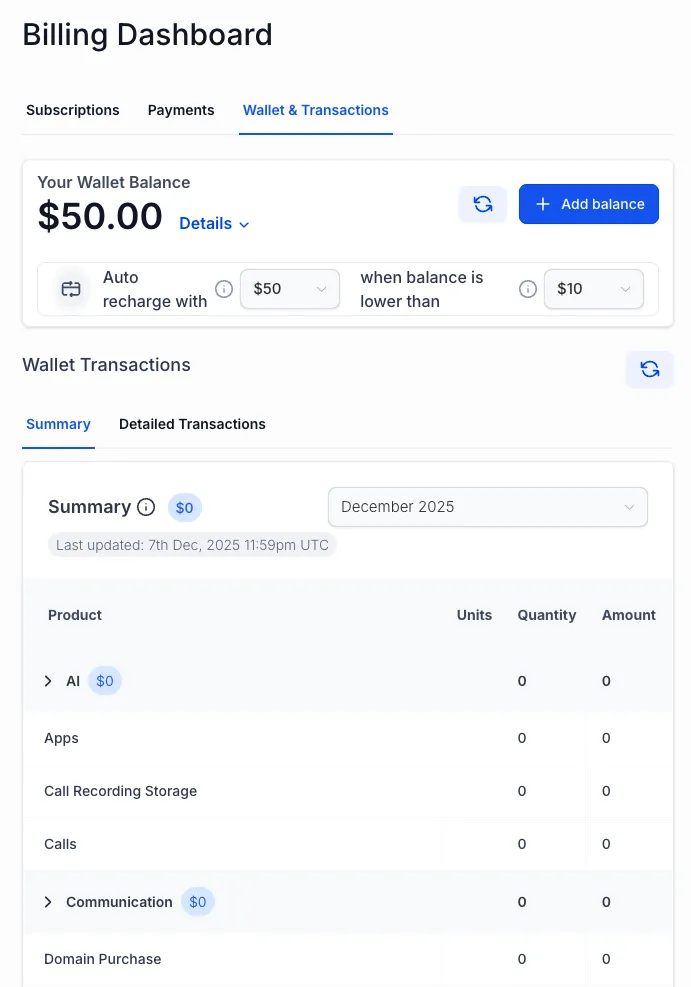
Add Funds
Navigation: Go to Settings → Billing → Wallet & Transactions
Click - Add Balance button.
Choose the amount (start with $20 to $50 recommended).
Confirm your payment.
Your wallet updates instantly - you're ready for phone setup next!
Step 2: Phone Setup
You’ll need a Toll-Free Number or local number to send SMS and make calls. Toll-Free numbers are faster to setup so we will give that overview here.
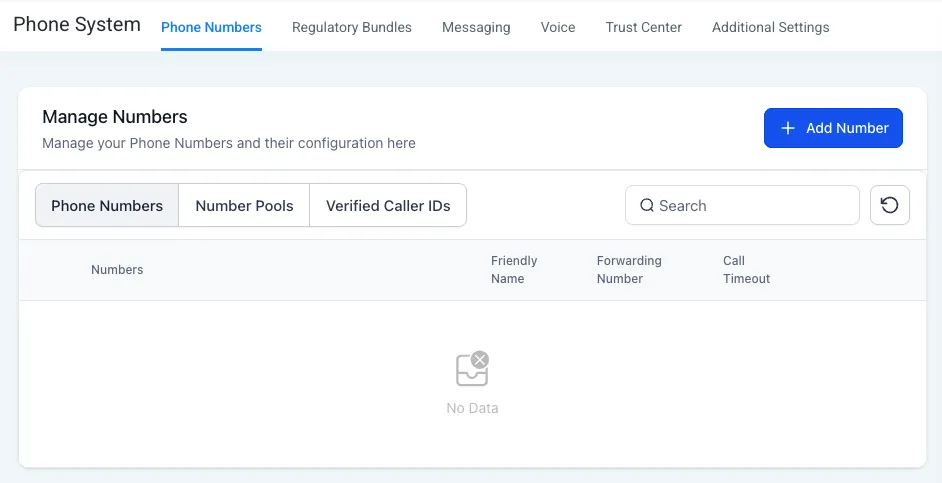
Navigation: Go to Settings → Phone Numbers → Add Number
Choose Toll-Free and select a number from the list. Click Proceed to Buy. The amount listed will be deducted from your wallet.
Follow the instructions and complete the Toll-Free Registration form. Include business name, use case and message type.
Submit for approval.
Wait 24-48 hours for approval before sending SMS/MMS.
Calls will works immediately.
Step 3: Domain Setup for Email
Connect your domain to send branded emails that land in inboxes.
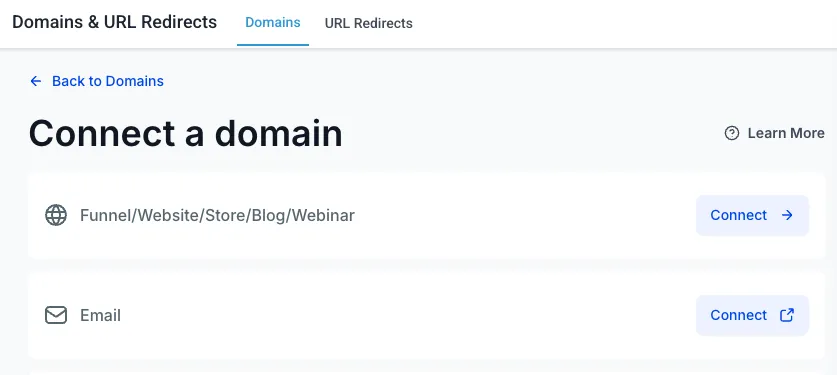
Navigation: Go to Settings → Domains & URL Redirects
Click on Connect a Domain.
Click on Connect button under the email section.
Enter your domain, we recommend using a subdomain like send.yourdomain.com to avoid domain conflicts.
Click Add & Verify
Follow instructions to automatically setup DNS records.
Step 4: Business Info & Branding
Update your company details to personalize your platform and communications.
Navigation: Go to Settings → Business Info
Add Business Name, Logo, Address, Phone and Support Email.
Click Save Changes.
Your branding will automatically appear across forms and emails.
Step 5: Import Contacts
Bring your leads and clients into your CRM to start messaging them right away.
Navigation: Go to Contacts → Import Contacts
Export your list from your previous system as a CSV file.
Upload and map fields to match.
Add tags or assign to a pipeline.
Confirm your import - contacts are ready instantly!
Step 6: Create Forms to Capture Leads
Collect new leads directly into your Revfinity CRM.
Navigation: Go to Sites → Forms → + New Form
Add desired form fields.
Customize your thank-you message.
Embed your form on your website in place of contact forms.
Submit a test entry to confirm it appears in Contacts.
Pick Your Next Steps - What Would You Like to Do?

Setup Automation Workflows
New Blog Post Descriptiodfasdfn ...more
Automation
December 08, 2025•6 min read